Great things in business are never done by one person. They’re done by a team of people. We have that dynamic group of peoples
This article delves into the world of LCD displays, specifically focusing on the popular 16×2 character LCD module and its integration with Arduino using the I2C interface. If you’re looking to add a visual display to your projects, understanding how to use the 16×2 LCD module is essential. This guide will walk you through everything you need to know, from the basics of the LCD module to using I2C communication, making this a worthwhile read for beginners and experienced makers alike.
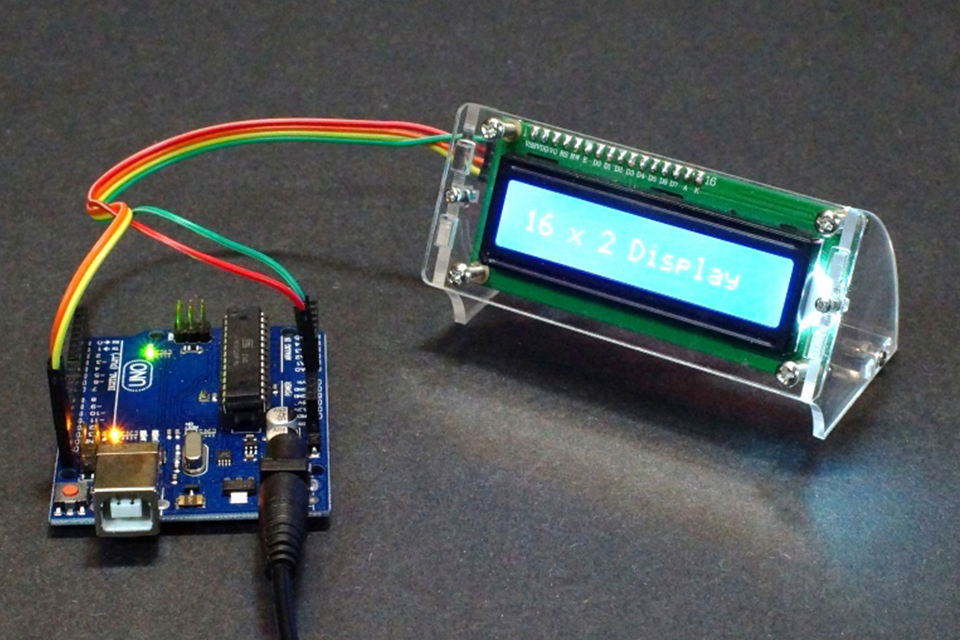
An LCD, or liquid crystal display, is a flat-panel display technology used in a variety of devices, from digital watches to computer monitors. They are popular due to their low power consumption and relatively low cost. When working on electronics projects, especially with microcontrollers like Arduino, an LCD display is a great way to provide feedback and show information to the user. The 16×2 character LCD is a specific type of LCD that can display 16 characters in each of its 2 rows, making it ideal for displaying text and numerical data. This type of display uses a dot matrix to form the characters which is perfect for a variety of different projects. The 16×2 lcd display offers a simple, effective way to display one or more lines of information, and it is the perfect choice when a more sophisticated graphical display is not required. It is very user-friendly and simple to integrate into different electronic circuits.
The 16×2 character lcd display is a staple in DIY electronics because it’s easy to use and doesn’t require a lot of resources from the controlling device, such as an arduino. Compared to other displays, the 16×2 LCD offers a great balance between functionality, ease of use, and cost. You’ll often find this type of lcd in various projects where it’s important to display data clearly. The limited number of characters that this lcd display can show is often offset by the low cost and ease of operation which is why it is still very popular. With the ability to adjust the contrast and backlight, the 16×2 display provides clear and readable text which is a key component to any display.
The LCD1602 module is a specific implementation of the 16×2 character LCD. The “1602” refers to its 16 characters by 2 rows of text display capability. These lcd modules are built around a controller, typically the HD44780 or a compatible controller, that handles the display of the characters and the management of the backlight. The LCD1602 module typically has 16 pins, which are used for power, ground, data, control, and backlight. When used without I2C, these many pins can be difficult to wire, which is why the i2c adapter is a popular addition. They also have the ability to display a variety of symbols, not just letters and numbers, and provide a high degree of control over what is shown on the lcd screen.
Key features of the LCD1602 module include its ability to display characters and strings, the backlight functionality often with a blue background, and the adjustable contrast for optimal viewing. The backlight makes it easy to use an lcd display even in low light conditions. The backlight of the lcd1602 module are typically implemented with LED that provide a clear, bright output. One of the important things to remember is that the number 1602 means that this module can display 16 characters in 2 rows. The character display functionality makes it perfect for showing data clearly to the user. The display characters are a set 5×7 or 5×11 dot matrix which defines the shape of each letter, number or symbol.
The I2C (Inter-Integrated Circuit) interface is a serial communication protocol that allows multiple devices to communicate with a microcontroller using just two wires. These wires are typically labeled as SDA (Serial Data) and SCL (Serial Clock). Using I2C with an LCD1602 module drastically simplifies the wiring process. Normally, the LCD1602 module requires many pins, which can be a challenge when working with microcontroller projects with limited pin availability. The i2c interface enables the use of only 2 pins and power and gnd instead of many, making the projects easier to build and less prone to wiring errors. This is done by having a separate chip or an i2c module attached to the back of the lcd, that acts as the bridge.
The I2C interface works through a master-slave relationship, where the master (often the microcontroller, such as an Arduino) initiates communication with the slave devices (such as the I2C LCD1602 module). Every I2C device has a unique I2C address, allowing the microcontroller to communicate with the specific device. The serial communication protocol of the I2C greatly simplifies the hardware setup and makes it easier to integrate the lcd1602 with the Arduino. Without the i2c module, an LCD1602 are controlled by d4-d7 ports of the arduino and need to use many pins from the microcontroller.
The I2C LCD1602 module combines the functionality of the 16×2 LCD with an I2C interface adapter. The i2c adapter or backpack is usually attached to the back of the lcd, converting the traditional parallel communication of the LCD into a serial I2C communication. This means that instead of the Arduino or raspberry pi needing to use multiple digital pins to communicate with the display, the microcontroller uses only the I2C SDA and SCL lines, simplifying wiring significantly. It also reduces the number of ports of the arduino used for the lcd, freeing them up for other components or sensors that need to be used in the project.
The I2C controller on the I2C module receives commands and data sent by the microcontroller through the i2c interface. It then translates these commands and data into signals that the character lcd understands to control the display of the characters. The I2C LCD1602 module includes the necessary logic to control the LCD’s backlight, contrast, and the display of characters in the dot matrix. The backlight of the lcd1602 will be turned on by the I2C module as soon as it is connected to power. The data sent by the controller includes also the position on the lcd screen where the data will be displayed. The characters displayed on the lcd1602 are defined by the dot matrix where each position can display one character. The space between characters and rows is part of the dot pitch between two characters and thus separating characters and lines.
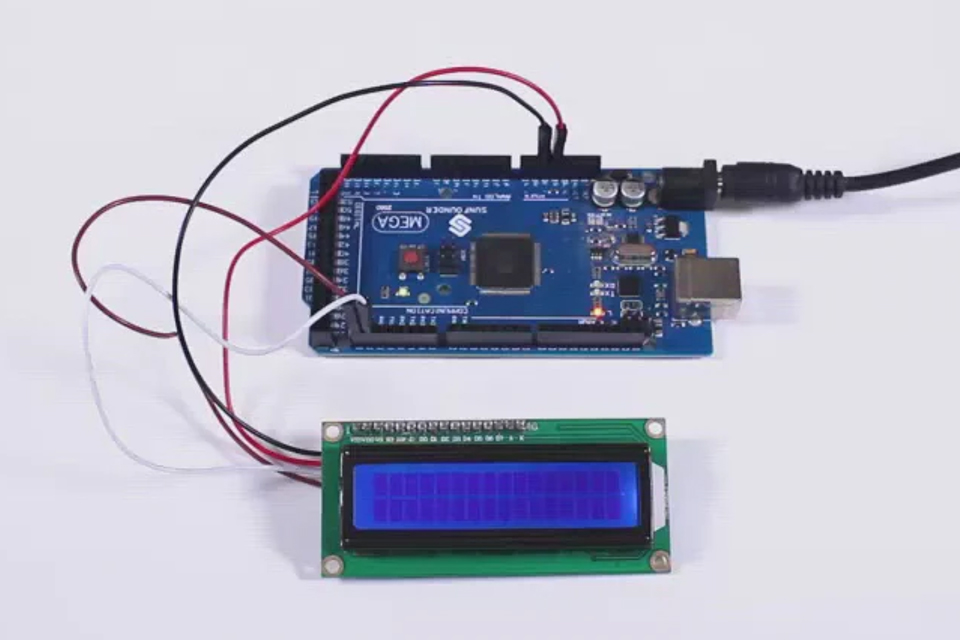
Connecting an I2C LCD1602 to an Arduino is straightforward, thanks to the I2C interface. You’ll need the I2C LCD1602 module, an Arduino board (like an Arduino Uno), and four jumper wires. Connect the VCC pin of the I2C module to the 5V pin on the Arduino, the GND pin to the GND pin of the Arduino. Then connect the SDA pin of the module to the SDA (A4) pin on the Arduino and the SCL pin of the module to the SCL (A5) pin on the Arduino. Some boards, such as the Arduino Uno R3, have dedicated I2C pins. The i2c module needs to have access to both the power source and the i2c lines.
Once you have the I2C LCD1602 connected to the Arduino, you can start programming it. In order to communicate with the i2c module, you will need to install the required arduino library. This typically includes adding the specific libraries for the I2C LCD. Once these are installed, the basic example code can be used to test the display. You’ll also need to find the I2C address of your module, which can usually be determined through an I2C scanner sketch. Once you’ve found the i2c address, you can proceed to programming your I2C LCD.
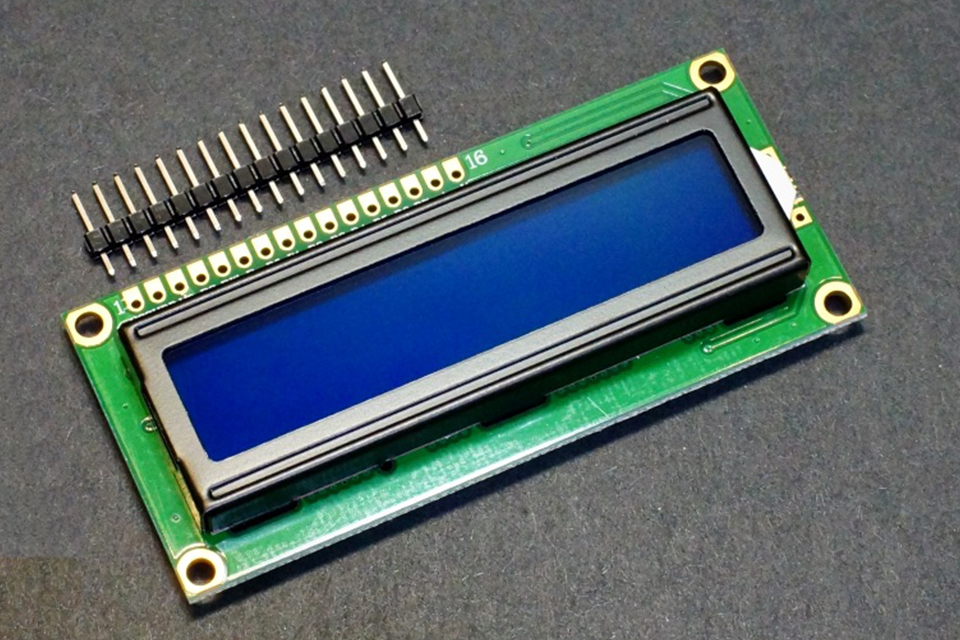
There are several benefits to using an I2C LCD1602 module with Arduino. The most significant advantage is the reduction in wiring complexity. Traditional LCD modules require many data and control lines, which can quickly consume available pins on the Arduino. The I2C module greatly simplifies this. By using the I2C interface, you need only four connections (VCC, GND, SDA, SCL), which frees up valuable digital pins on your Arduino for other uses. This simplicity not only reduces clutter and simplifies the project but also reduces the risk of wiring errors. The i2c interface also allows other i2c devices to be connected at the same time to the same microcontroller.
Another benefit of the i2c lcd1602 module is the ease of programming. Once the libraries are set up correctly, the code needed to control the lcd display is significantly simpler than with a standard LCD. Libraries like LiquidCrystal_I2C abstract away the complexities of the i2c communication, allowing the programmer to focus on the text and information displayed on the lcd screen. This makes it much easier to use an lcd1602 to display characters and text with different parameters. All this makes the integration of the LCD faster and more user-friendly.
One of the most common problems when using an LCD display module is that the display doesn’t show characters properly, or that the characters displayed are not clear. This often means that you need to adjust the contrast. The contrast of the screen display can be adjusted by using a potentiometer or by adjusting the code with the proper calls to the Arduino library. If you are using a potentiometer, you should connect vo to the middle pin of the potentiometer, then connect the other pins to the gnd and to the power source. You can adjust the contrast by rotating the potentiometer. Other common issues are usually related to faulty wiring or an incorrect i2c address. Always double-check your connections and make sure the i2c address matches the one used in your code.
Another common problem is that the backlight does not work. This could be due to incorrect wiring of the led pins on the i2c module itself or from issues with the software if it is controlled from the software. Make sure that the led is getting power. Also, make sure that your Arduino or other controllers are powered up correctly and that you connect vss to gnd of the lcd1602 to the power source and that you connect k to gnd. If nothing is displayed on the screen, there is a possibility that the i2c module is faulty. Always check the power source for both the arduino and the lcd.
To control the I2C LCD1602 module with Arduino, you’ll need to use the appropriate libraries. The most common library is the LiquidCrystal_I2C library. First, install the library using the Arduino IDE library manager. Once installed, the basic example code can be used to display text on the screen. The example code begins with the inclusion of the necessary library and defines the i2c address and the lcd object. Next, you would use setup() function to start the display with a command like lcd.begin(16, 2); and then use lcd.print("Hello, World!"); to show a message on the screen.
The loop() function will continuously execute the code within and it can be used to update the display. The optimized by calling function libraries will allow you to display characters and strings on the lcd display. With the i2c library and functions you can clear the lcd screen, position the cursor and print different types of data such as strings and numbers. Here’s a basic example to display one message:
#include <LiquidCrystal_I2C.h>

// Set the LCD address to 0x27 for a 16 chars and 2 line display
LiquidCrystal_I2C lcd(0x27, 16, 2);

void setup() {
  // initialize the LCD
  lcd.init();

  // Turn on the backlight.
  lcd.backlight();

  // Print a message to the LCD.
  lcd.print("Hello, LCD!");
}

void loop() {
  //nothing here but you could do more
}
Yes, a 16×2 LCD module, including the I2C version, can be used with other platforms like the Raspberry Pi. The fundamental principle is the same: establish communication between the platform and the LCD controller. For the Raspberry Pi, you’ll typically use Python programming language and I2C libraries. The wiring for the i2c interface with the Raspberry Pi will be the same, with the I2C connections going to the correct pins. A library will also be needed to use the I2C. There are also modules that work directly with raspberry pi such as the SunFounder Raspberry Pi module that simplifies the setup.
The process involves enabling I2C on the Raspberry Pi, installing the necessary Python libraries (usually smbus for I2C communication), and then writing the code to control the LCD. The I2C address would also need to be specified in the code and it should match the actual address of the i2c adapter. The process of setting up the i2c lcd with a Raspberry Pi is similar to that of the Arduino platform. The main difference is the programming language and libraries. Once the library is set up, the commands to control the i2c lcd are similar. The i2c communication protocol is universal and can be used across different platforms.
The 16×2 lcd module has a limited number of characters and strings it can display but it can still be used very effectively. The number 1602 means that the lcd screen can display 16 characters and 2 rows. The best way to use the lcd display is to keep the messages short and precise. The lcd also has a set of available commands to move the cursor, clear the screen and set different display parameters. For example, you can move the cursor to different positions in order to display characters and strings at different locations on the screen. You can use lcd.setCursor(column, row) to specify the exact location where the next character will be displayed.
It is also important to clear the lcd display when it is needed. The function lcd.clear() can be used to clear the current contents of the lcd screen. You can display two characters and a space. Also, it’s important to understand the limitation of the 1602 character-type liquid crystal display. Each character position is made of 5×7 or 5×11 dot matrix which is perfect for letters and numbers, but it’s important to keep this in mind when designing your output and what is being showed and 16 characters across each line. The first row of rectangles are the area on the screen where each position can display one character which are composed of 5×7 or 5×11 dot matrix.
| LCD Pin | Arduino Pin |
|---|---|
| VCC | 5V |
| GND | GND |
| SDA | A4 (or SDA) |
| SCL | A5 (or SCL) |
| Feature | Standard LCD1602 | I2C LCD1602 |
|---|---|---|
| Wiring Complexity | High | Low |
| Number of Pins Used | Many | Four |
| Communication | Parallel | Serial (I2C) |
| Ease of Programming | More complex | Simpler |
| Required Pins | many | less |
This extensive guide should equip you with the knowledge to start using an i2c lcd1602 module in your Arduino or Raspberry Pi projects.
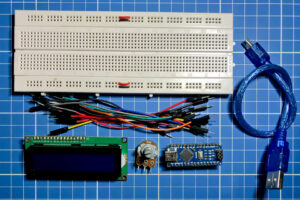
Liquid Crystal Displays (LCDs) are ubiquitous in modern technology, from our smartphones to our televisions.

This article dives deep into the world of LCD controller boards, offering you the essential knowledge to select the perfect board for your display project, whether you’re repurposing a laptop screen or building a custom monitor.
This article explores the fascinating world of LCD (Liquid Crystal Display) technology, focusing on the essential role of driver boards and controllers in making these displays function.

The world of virtual reality (VR) and augmented reality (AR) is rapidly evolving, and at the heart of this transformation lies a critical component: the display.
This article dives into the world of Thin-Film Transistor (TFT) LCD display modules, exploring their technology, advantages, and diverse applications.
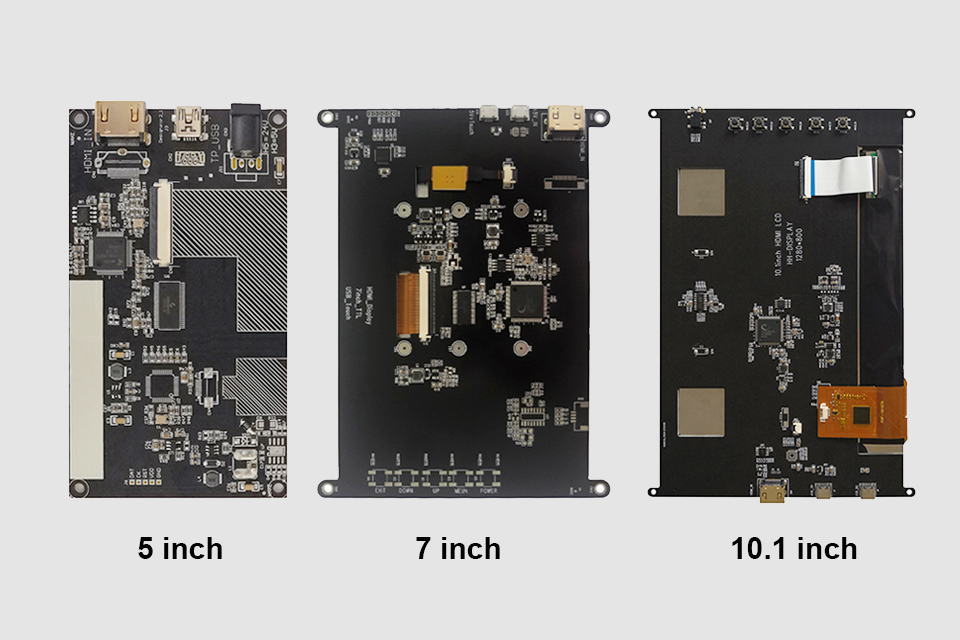
This article explores how to connect an LCD screen to a Raspberry Pi using an HDMI driver board, essentially turning your single-board computer into a miniature HDMI monitor.
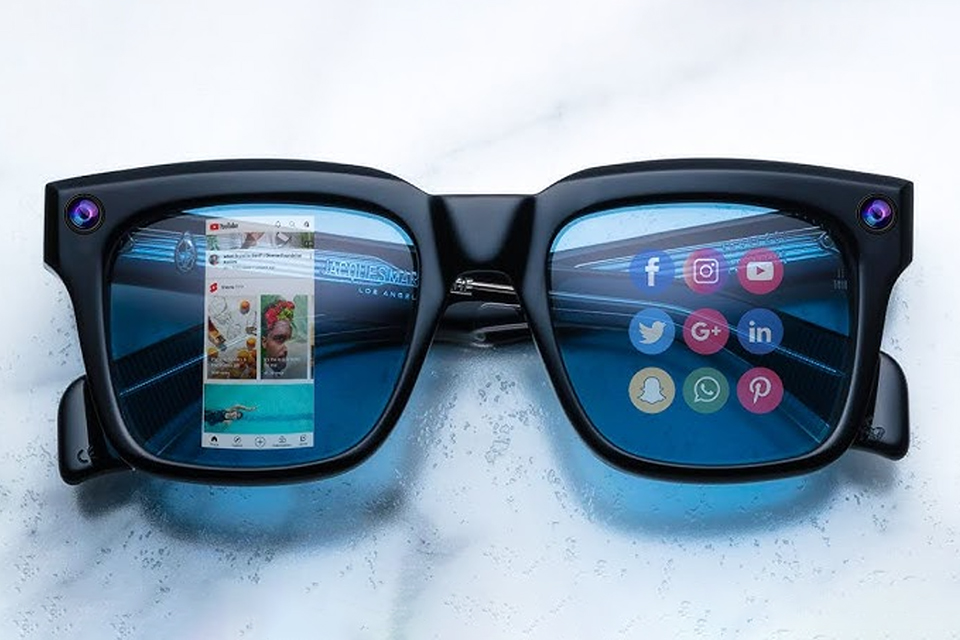
This article dives into the exciting world of augmented reality (ar) lenses, specifically focusing on the development and potential of an interchangeable lens system for ar glasses.

This article dives deep into the lifespan and durability of OLED (Organic Light Emitting Diode) displays compared to LCD (Liquid Crystal Display) screens.

@ 2025 display-module. All right reserved.
Fill out the form below, and we will be in touch shortly.