Grote dingen in het bedrijfsleven worden nooit door één persoon gedaan. Ze worden gedaan door een team van mensen. We hebben die dynamische groep mensen
Dit artikel is uw uitgebreide gids voor het begrijpen en navigeren in de wereld van Vervanging van LCD-schermmoduleOf u nu te maken heeft met een kapotte scherm, uw upgrade uitvoeren weergave, of het starten van een nieuw project waarvoor een LCD-scherm, deze gids zal u voorzien van de kennis die u nodig hebt. We zullen de verschillende typen van LCD weergavemodules, begeleidt u door het proces van het vinden van de juiste vervanging voor uw behoeften, en antwoord veelgestelde vragen over compatibiliteit, installatie en meer. Dit artikel is het lezen waard omdat het het proces van Vervanging van LCD-schermmodule, waardoor u weloverwogen beslissingen kunt nemen, geld kunt besparen op reparaties en optimale visuele resultaten kunt behalen in uw projecten. Aan het einde zult u begrijpen hoe u vol vertrouwen vervang het LCD in verschillende toepassingen en vinden de beste 10,1 inch displaymodule vervangend scherm TFT LCD voor uw behoeften of andere inch display module vervanging scherm TFT oplossingen. Laten we eens kijken wat voor soort aanraakscherm kunnen wij aanbieden.
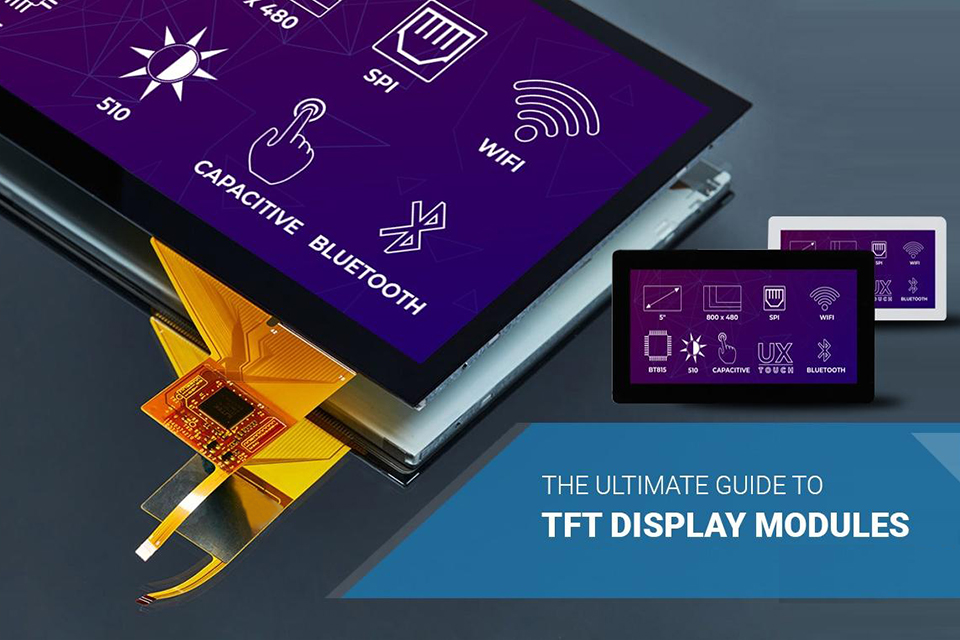
LCD's (Vloeibaar kristal Weergaven) zijn alomtegenwoordig geworden in de moderne technologie en verschijnen in alles van smartphones en laptops tot industriële apparatuur en digitale bewegwijzering. Als het gaat om LCD weergavemodules, verschillende gemeenschappelijke typen inspelen op verschillende behoeften en toepassingen. Laten we verkennen 1 van de populairste opties. Karakter LCD-modules zijn ontworpen om alfanumerieke tekens en symbolen weer te geven. Ze worden vaak gebruikt in toepassingen waar eenvoudige tekstuele informatie moet worden weergegeven, zoals in printers, kopieerapparaten en industriële bedieningspanelen. Karakter LCD-modules komen meestal in standaardconfiguraties zoals 16×2 (16 tekens per lijn, 2 regels) of 20×4.
Grafische LCD-modules, aan de andere kant, zijn in staat om naast tekst ook afbeeldingen en grafieken weer te geven. Ze bieden meer flexibiliteit qua inhoud en worden vaak aangetroffen in toepassingen zoals draagbare spelapparaten, medische apparatuur en dashboards van auto's. Grafische LCD-modules komen in verschillende resoluties, zoals 128×64 of 320×240 pixels. Aanraakscherm LCD modulen een opnemen aanraken-gevoelige laag die gebruikers in staat stelt om te communiceren met de weergave direct. Er zijn twee hoofd typen van aanraken technologieën die worden gebruikt in LCD-modules: resistief en capacitief. Resistief aanraakschermen zijn drukgevoelig en kunnen worden bediend met een stylus of een ander voorwerp, terwijl capacitieve aanraakschermen zijn gevoeliger voor licht aanraken en bieden meer duidelijkheid. Veel andere typen van LCD modulen Zijn beschikbaar op de markt, elk met zijn eigen set kenmerken en mogelijkheden, zoals OLED beeldschermen die een betere beeldkwaliteit en lagere kosten bieden stroom consumptie, maar zijn over het algemeen duurder. Het is belangrijk naar opmerking dat veel van die typen zullen fit jouw apparaat U moet dus een keuze maken op basis van uw behoeften en budget.
De juiste keuze maken LCD weergavemodule voor uw project of vervanging behoeften vereist een zorgvuldige overweging van verschillende sleutelfactoren. Een van de meest belangrijk factoren zijn de weergave resolutie, die het aantal bepaalt pixels het kan weergeven en, bijgevolg, de scherpte en details van de afbeelding. Hogere resoluties worden over het algemeen verkozen voor toepassingen die complexe graphics of grote hoeveelheden tekst moeten weergeven. Weergave maat is een andere cruciale factor. LCD modulen zijn er in een breed scala aan maten, van klein beeldschermen gebruikt in wearables tot grote panelen gebruikt in televisies. De juiste maat hangt af van de beoogde toepassing en de beschikbare ruimte.
De interface type is ook belangrijk om te overwegen. Algemeen interface typen voor LCD modulen omvatten parallel, SPI, I2C en LVDS. De keuze van interface hangt af van factoren zoals de vereiste gegevensoverdrachtsnelheid, het aantal beschikbare pinnen op de microcontroller en de complexiteit van de bedrading. Andere factoren om te overwegen zijn onder meer de kijkhoek, die bepaalt hoe goed de weergave kan vanuit verschillende hoeken worden bekeken, de helderheid en contrast van de weergave, die de zichtbaarheid ervan bij verschillende lichtomstandigheden beïnvloeden, en de werking stroom en temperatuurbereik. Het is ook essentieel om na te denken over de vraag of u een aanraken scherm en zo ja, wat type van aanraken technologie (resistief of capacitief) het meest geschikt is voor uw toepassing. Vergeet niet om overeenkomst jouw weergave module naar jouw apparaatDoor deze factoren zorgvuldig te evalueren, kunt u een LCD weergavemodule die voldoet aan uw specifieke vereisten en zorgt voor optimale prestaties in uw toepassing. Het is ook belangrijk naar overeenkomst ander onderdelen van de apparaat met de weergave. De type van verbindingsstuk gebruikt moet ook in overweging worden genomen.
Het vinden van de juiste vervangende LCD weergavemodule voor jouw apparaat of project kan ontmoedigend lijken, maar door een systematische aanpak te volgen, kunt u het proces vereenvoudigen en compatibiliteit garanderen. De eerste stap is om de specificaties van het origineel te identificeren LCD weergaveDeze informatie is vaak te vinden in de apparaat gebruikershandleiding, technische documentatie of op de website van de fabrikant. Belangrijk specificaties voor opmerking omvatten de weergave maat, oplossing, interface type, verbindingsstuk type, En model nummer. Dit is 1 van de eerste stappen bij het vinden van de juiste deel.
Als je niet kunt vinden de exacte specificaties van het origineel weergave, kunt u ze mogelijk bepalen door de LCD module zelf. Zoek naar labels of markeringen op de printplaat of de achterkant van de weergave paneel. Deze markeringen kunnen de volgende informatie bevatten: model nummer of andere identificerende informatie. Zodra u de specificaties van het origineel hebt LCD, kunt u beginnen met zoeken naar een compatibele vervanging. Online retailers, elektronicaleveranciers en gespecialiseerde weergave distributeurs zijn goede plekken om te zoeken. Gebruik bij het zoeken de specificaties die u eerder hebt geïdentificeerd als trefwoorden. U kunt bijvoorbeeld zoeken naar "vervanging LCD voor [apparaat model]” of “10.1 duim 1280×800 weergavemodule SPI interface.” Het zou moeten overeenkomst jouw apparaat.
Zijn belangrijk om de specificaties van potentiële vervanging LCD modulen met die van het origineel weergave. Let goed op de maat, oplossing, interface type, verbindingsstuk type, En pin configuratie. Zelfs kleine verschillen in deze specificaties kunnen leiden tot incompatibiliteit. Als u niet zeker weet of een bepaalde LCD module is verenigbaar, overweeg contact op te nemen met de verkoper of fabrikant voor verduidelijking. Zij kunnen mogelijk aanvullende informatie verstrekken detail of bevestig de compatibiliteit met uw specifieke apparaat of project. Als u moet vervangen de weergave altijd op zoek naar de origineel deel nummer.
Het is niet ongewoon om situaties tegen te komen waarin je kan+niet vinden een exacte vervanging voor een specifieke LCD scherm of weergavemoduleDit kan om verschillende redenen gebeuren, zoals de oorspronkelijke weergave wordt stopgezet, de apparaat te oud zijn, of de weergave een zijn aangepast ontwerp niet gemakkelijk beschikbaar op de markt. Als u zich in deze situatie bevindt, wanhoop dan niet. Er zijn nog steeds verschillende opties die u kunt verkennen.
Een optie is om te zoeken naar een compatibele LCD scherm met vergelijkbaar specificaties. Hoewel het misschien niet exact overeenkomt, is een weergave met dezelfde maat, resolutie en interface type zou kunnen werken als een vervangingHet is echter van cruciaal belang om nauwlettend aandacht te besteden aan de verbindingsstuk type En pin configuratie, aangezien zelfs kleine verschillen compatibiliteitsproblemen kunnen veroorzaken. Mogelijk moet u de datasheets raadplegen voor zowel de originele als de potentiële vervanging beeldschermen om ervoor te zorgen dat ze verenigbaarHiervoor kan enige technische kennis nodig zijn. ervaring.
Een andere optie is om te overwegen een generieke LCD module en het aanpassen aan uw apparaat of project. Deze aanpak vereist vaak meer technische expertise, omdat u mogelijk ontwerp een gewoonte bord of de bestaande schakeling aanpassen om de nieuwe weergave. Mogelijk moet u ook aangepaste firmware schrijven of bestaande code wijzigen om te kunnen communiceren met de vervanging LCDHoewel deze optie een grotere uitdaging kan zijn, kan het ook meer flexibiliteit bieden en u in staat stellen om gemakkelijker te gebruiken beschikbaar weergave modulen.
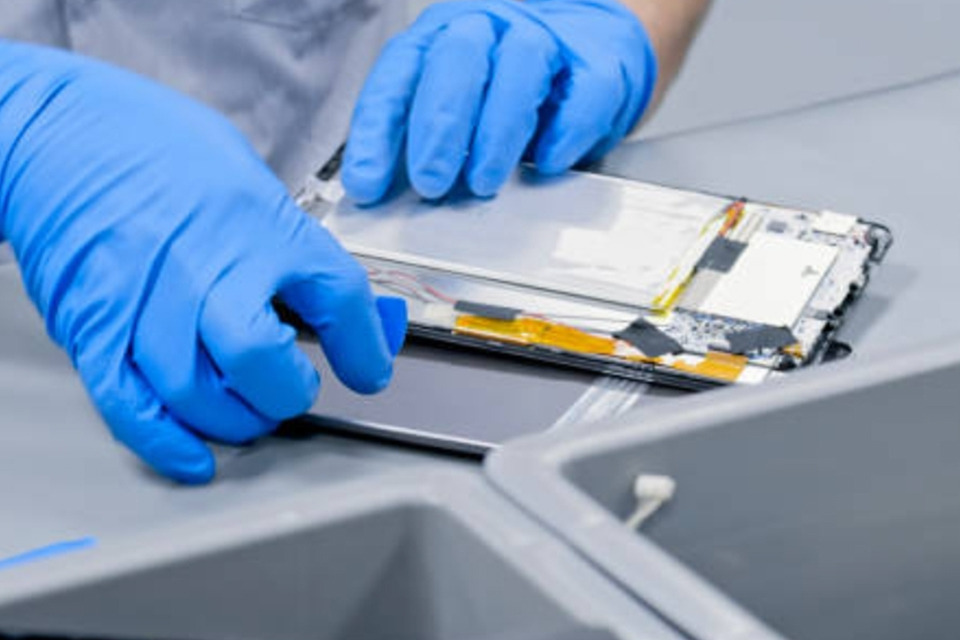
Een vervangen LCD weergavemodule lijkt misschien een ontmoedigende taak, maar met de juiste tools en een systematische aanpak kan het een beheersbaar proces zijn. Hier is een algemene stapsgewijze handleiding om u te helpen bij het vervanging proces:
Vergeet niet de apparaat servicehandleiding of online tutorials voor specifieke demontage- en montage-instructies indien beschikbaarAls u zich niet op uw gemak voelt bij het uitvoeren van de vervanging overweeg zelf om professionele hulp te zoeken reparatie diensten. Het is een eenvoudig proces, maar vereist wel enige technische kennis.
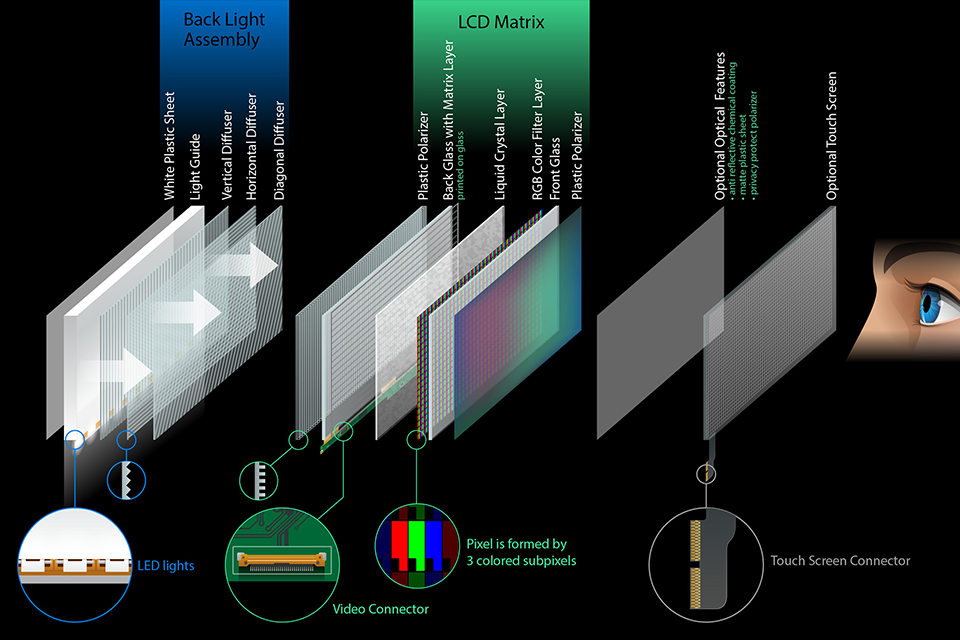
LCD-schermmodules verschillende soorten connectoren gebruiken om te interfacen met het moederbord of de microcontroller. Het type verbindingsstuk gebruikt kan de compatibiliteit en het gebruiksgemak beïnvloeden vervanging, en de algehele ontwerp van de apparaatHier zijn enkele van de meest voorkomende verbindingsstuk typen voor LCD weergavemodules:
| Aansluitingstype | Beschrijving | Veelvoorkomende toepassingen | Voordelen | Nadelen |
|---|---|---|---|---|
| Lintkabelconnectoren | Flexibele kabels met randconnectoren, vaak op maat ontworpen voor specifieke displays. Inclusief FPC- en FFC-connectoren. | Kleiner LCD modulen, mobiele apparaten, ingebedde systemen | Compact, lichtgewicht, flexibel | Kan kwetsbaar zijn, kan ZIF-connectoren vereisen voor herhaaldelijke plaatsingen, aangepaste ontwerpen kunnen de compatibiliteit beperken |
| Pin-headers | Rijen metalen pinnen die in de aansluitingen op een printplaatVeel voorkomende toonhoogtes zijn 2,54 mm en 2,0 mm. | Karakter LCD's,sommige grafisch LCD's, ontwikkelingborden, hobbyprojecten | Eenvoudig, goedkoop en gemakkelijk te solderen | Groter dan lintkabels, beperkt aantal pinnen, mogelijk niet geschikt voor hogesnelheidsgegevens |
| ZIF-connectoren | Connectoren met een vergrendelingsmechanisme (hendel of schuif) dat het mogelijk maakt eenvoudig Het plaatsen en verwijderen van lintkabels zonder schade. | Apparaten die frequent onderhoud vereisen weergave vervanging of upgrades | Beschermt kabels enconnectoren tegen beschadiging tijdens het inbrengen/verwijderen, vergemakkelijkt eenvoudig vervanging | Voegt kosten en complexiteit toe in vergelijking met niet-ZIF-connectoren |
| LVDS-connectoren | Connectoren die differentiële signalering gebruiken voor snelle gegevensoverdracht via twisted-pairkabels. Vaak gestandaardiseerd. | Groter, hogere resolutie beeldschermen in laptops, monitoren, industriële apparatuur | Hoge bandbreedte, goede signaalintegriteit en gestandaardiseerde connectoren verbeteren de compatibiliteit | Complexer en duurder dan eenvoudigere connectoren, vereist specifieke grafische controllers |
| eDP-connectoren | Connectoren ontworpen voor hoge resolutie beeldschermen, met een verminderd aantal pinnen, verbeterde energie-efficiëntie en EMI-reductie. Wordt steeds vaker gebruikt in moderne apparaten. | Laptops, tablets, alles-in-één computers, high-end embedded systemen | Ondersteunt hoge resoluties, lager stroomverbruik, verminderde EMI, kleinere connector maat | Nieuwer standaard, wordt mogelijk niet ondersteund door oudere apparaten of controllers |
Bij het selecteren van een LCD weergavemodule of een vervangingis het van cruciaal belang om nauwlettend aandacht te besteden aan de verbindingsstuk type en ervoor zorgen dat het verenigbaar met jouw apparaat of microcontroller. Het verkeerde gebruiken verbindingsstuk type kan leiden tot verbindingsproblemen, problemen met de signaalintegriteit of zelfs schade aan de weergave of andere componenten.
Na het vervangen van een LCD weergavemodule, kunt u enkele veelvoorkomende problemen tegenkomen. Als u voorbereid bent om deze problemen op te lossen, bespaart u tijd en frustratie. Hier zijn enkele typische problemen en hun mogelijke oplossingen:
Probleemoplossing LCD weergave problemen omvatten vaak een proces van eliminatie. Door systematisch verbindingen, instellingen en drivers te controleren, kunt u het probleem vaak identificeren en oplossen. Als u deze basisstappen voor probleemoplossing hebt geprobeerd en nog steeds problemen ondervindt, is het misschien tijd om steun van de weergave fabrikant of een professional reparatie dienst.
Het vinden van de juiste vervangende LCD weergavemodule vereist dat je weet waar je moet zijn winkel en waar je op moet letten. Verschillende soorten retailers en leveranciers spelen in op verschillende behoeften en niveaus van expertise. Online marktplaatsen zoals Amazon, eBay en AliExpress bieden een enorme selectie van LCD weergavemodules van verschillende fabrikanten en verkopers. Deze platforms zijn handig om prijzen te vergelijken, beoordelingen van klanten te lezen en een breed scala aan opties te vinden. Het is echter belangrijk om voorzichtig te zijn bij het kopen bij externe verkopers en om hun reputatie en de authenticiteit van de product.
Gespecialiseerde elektronicaleveranciers zoals Adafruit, SparkFun en Digi-Key zijn uitstekende bronnen voor LCD weergavemodules, met name voor hobbyisten, makers en mensen die aan doe-het-zelfprojecten werken. Deze leveranciers cureren vaak hun inventaris, bieden gedetailleerde product informatie en datasheets, en aanbod klant steunZe kunnen ook aanvullende producten aanbieden, zoals breakout boards, kabels en ontwikkelingsapparatuur. bouwpakketten die het integratieproces kunnen vereenvoudigen.
Voor degenen die op zoek zijn naar industriële of gespecialiseerde LCD weergavemodules, gespecialiseerd weergave distributeurs zoals Mouser Electronics, Arrow Electronics en Future Electronics zijn goede opties. Deze distributeurs hebben vaak een breed scala aan beeldschermen van toonaangevende fabrikanten, waaronder die welke zijn ontworpen voor specifieke toepassingen of industrieën. Ze kunnen ook diensten met toegevoegde waarde aanbieden zoals aangepast weergave oplossingen, aanraken scherm integratie en technische steun.
Hier is een tabel met een samenvatting van de verschillende soorten retailers en leveranciers voor vervangende LCD weergavemodules:
| Type verkoper/leverancier | Voorbeelden | Voordelen | Nadelen |
|---|---|---|---|
| Online marktplaatsen | Amazon, eBay, AliExpress | Ruime keuze, concurrerende prijzen, klantbeoordelingen | Variabele reputatie van de verkoper, potentieel voor namaakproducten, beperkte technische ondersteuning |
| Leveranciers van elektronica | Adafruit, SparkFun, Digi-Key | Gecureerde inventaris, gedetailleerd product informatie, goed klant steun, aanvullende producten | Mogelijk hogere prijzen dan online marktplaatsen, mogelijk geen gespecialiseerde of industriële kwaliteit beeldschermen |
| Weergave Distributeurs | Mouser Electronics, Arrow Electronics, Toekomstige elektronica | Breed scala aan industriële en gespecialiseerde beeldschermen, diensten met toegevoegde waarde (bijv. aangepast oplossingen, aanraken integratie), technisch steun | Kan hogere prijzen hebben, kan minimale bestelhoeveelheden vereisen, is mogelijk niet geschikt voor hobbyisten of kopers van kleine volumes |
| Fabrikant Direct | Samsung, LG, Sharp, enz. | Gegarandeerd authentieke producten, toegang tot de nieuwste modellen en technologieën, potentieel voor bulkkortingen | Verkoopt mogelijk niet rechtstreeks aan consumenten of kopers van kleine volumes, beperkte selectie vergeleken met distributeurs, kan langere levertijden hebben |
Bij het winkelen voor een vervangende LCD weergavemodule, zijn belangrijk om niet alleen de prijs te overwegen, maar ook factoren zoals de reputatie van de verkoper, de beschikbaarheid van technische informatie en steun, en de verzending tijd. Het lezen van klantbeoordelingen en het vergelijken van specificaties van verschillende leveranciers kan u helpen een weloverwogen beslissing te nemen en vinden de beste waarde voor uw behoeften. U kunt ook contact de winkel En vragen voor hun aanbeveling.
Bij het vervangen van een LCD weergavemodule kan vaak een doe-het-zelfproject zijn, er zijn situaties waarin het het beste is om professionele hulp te zoeken. Weten wanneer je contact A reparatie winkel of technisch steun kan u tijd, geld en mogelijke hoofdpijn besparen. Als u niet op uw gemak bent met elektronica of als u niet over de benodigde gereedschappen of ervaringis het doorgaans een goed idee om professionele hulp te zoeken. Reparatie winkels die gespecialiseerd zijn in het type apparaat waarmee u werkt (bijvoorbeeld laptops, smartphones, industriële apparatuur) beschikt over de expertise en apparatuur om de juiste diagnose te stellen en reparatie weergave problemen.
Een andere situatie waarin professionele hulp raadzaam is, is wanneer u te maken hebt met een zeer waardevolle of missiekritieke apparaat. Als er een fout is gemaakt tijdens de vervanging Als het proces kan leiden tot aanzienlijk financieel verlies, gegevensverlies of veiligheidsrisico's, is het het beste om voorzichtig te zijn en professionals te laten hendel de reparatieAls u de basisstappen voor probleemoplossing hebt geprobeerd en het probleem nog steeds niet kunt oplossen, is het misschien tijd om vragen voor steun.
Veel apparaat En weergave fabrikanten bieden technische steun via verschillende kanalen, zoals telefoon, e-mail of online chat. Ze kunnen mogelijk begeleiding bieden bij het oplossen van problemen, vervanging procedures of garantieclaims. Sommige fabrikanten onderhouden ook netwerken van geautoriseerde servicecentra die zijn opgeleid en uitgerust om reparatie hun producten. Voordat u contact opneemt met een reparatie winkel of steun, verzamel zoveel mogelijk informatie over uw apparaat en de weergave kwestie. Dit omvat de apparaat model nummer, de LCD weergave specificaties, een detail beschrijving van het probleem en eventuele stappen voor probleemoplossing die u al hebt ondernomen. Hoe meer informatie u kunt verstrekken, hoe sneller en effectiever de reparatie technicus of steun agent kan u helpen.
Zodra u uw LCD weergavemodule, zijn belangrijk om er goed voor te zorgen om de levensduur en optimale prestaties te garanderen. Goed onderhoud kan helpen schade te voorkomen, de noodzaak voor toekomstige reparaties te verminderen en houden jouw weergave er op zijn best uitzien. Een van de meest belangrijk aspecten van LCD weergave zorg is regelmatige reiniging. Stof, vingerafdrukken en ander vuil kunnen zich ophopen op de scherm oppervlak, wat de zichtbaarheid beïnvloedt en mogelijk krassen veroorzaakt. schoon jouw LCD scherm, gebruik een zachte, pluisvrije microvezeldoek. Vermijd het gebruik van papieren handdoeken, tissues of ruwe stoffen, omdat deze de weergave. Je kan gebruik gedestilleerd water, maar vermijd het direct op de scherm.
Naast het regelmatig schoonmaken is het belangrijk naar hendel jouw LCD weergave met zorg. Vermijd het uitoefenen van overmatige druk op de scherm oppervlak, omdat dit de pixels of de onderliggende lagen. Bij het transporteren van een apparaat met een LCD weergave, zoals een laptop of een draagbare monitor, gebruik een gevoerde hoes of hoes om de scherm van stoten en krassen. Als u een LCD weergave met een aanraken scherm, wees je bewust van de objecten die je gebruik om ermee te interacteren. Terwijl de meeste moderne capacitieve aanraken schermen zijn nogal duurzaam, het gebruik van scherpe of schurende voorwerpen kan nog steeds krassen of andere schade veroorzaken. Blijf bij het gebruik van uw vinger of een stylus die speciaal is ontworpen voor capacitieve aanraken schermen.
Omgevingsfactoren kunnen ook van invloed zijn op de prestaties en levensduur van een LCD weergave. Vermijd het blootstellen van de weergave extreme temperaturen, hoge luchtvochtigheid of direct zonlicht gedurende langere perioden. Deze omstandigheden kunnen schade aan de LCD paneel, de achtergrondverlichting, of andere componenten. Als u nodig hebt gebruik jouw apparaat Overweeg in zware omstandigheden een beschermende behuizing of behuizing te gebruiken die speciaal voor dat doel is ontworpen.
Als u deze belangrijke punten in gedachten houdt en de richtlijnen in dit artikel volgt, bent u goed toegerust om uw volgende uitdaging aan te pakken. Vervanging van LCD-schermmodule project met vertrouwen. Geniet van uw nieuwe LCD weergave!
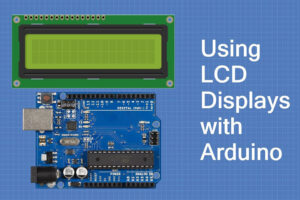
De 16×2 LCD-module, een hoeksteen van embedded systemen, is een fantastisch hulpmiddel voor het weergeven van tekstuele informatie.
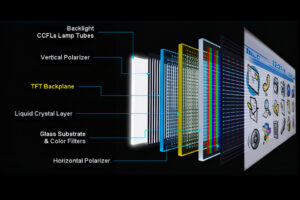
In dit artikel duiken we in de wereld van beeldschermen, met specifieke aandacht voor LCD-technologie.

De wereld van beeldschermen verandert voortdurend en twee technologieën domineren consequent de high-end markt: AMOLED en OLED.

This article explores how to connect an LCD screen to a Raspberry Pi using an HDMI driver board, essentially turning your single-board computer into a miniature HDMI monitor.

In dit artikel duiken we dieper in de wereld van LCD-controllerborden en bieden we u de essentiële kennis om het perfecte bord voor uw displayproject te selecteren, of u nu een laptopscherm wilt hergebruiken of een monitor op maat wilt bouwen.
Grote dingen in het bedrijfsleven worden nooit door één persoon gedaan. Ze worden gedaan door een team van mensen. We hebben die dynamische groep mensen
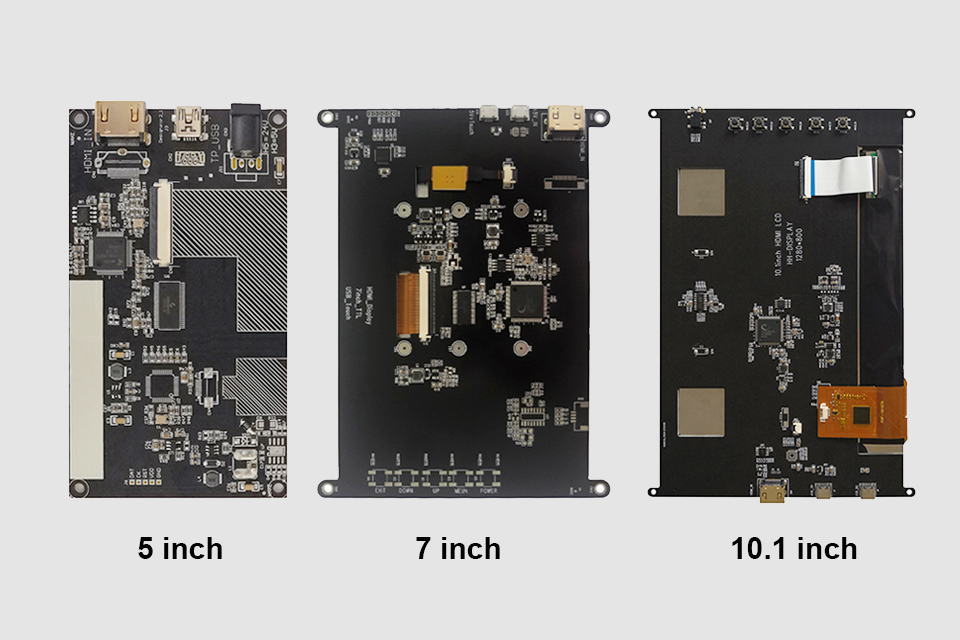
This article explores how to connect an LCD screen to a Raspberry Pi using an HDMI driver board, essentially turning your single-board computer into a miniature HDMI monitor.
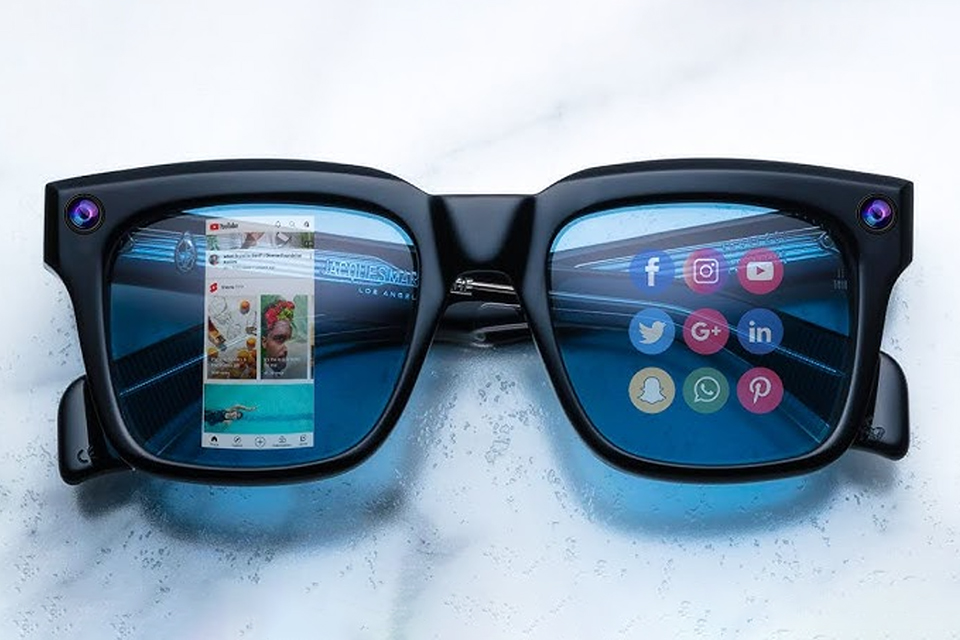
This article dives into the exciting world of augmented reality (ar) lenses, specifically focusing on the development and potential of an interchangeable lens system for ar glasses.

This article dives deep into the lifespan and durability of OLED (Organic Light Emitting Diode) displays compared to LCD (Liquid Crystal Display) screens.

@ 2025 display-module. Alle rechten voorbehouden.
Vul onderstaand formulier in, dan nemen wij binnenkort contact met u op.